Installing the WordPress plugin is quick and straightforward. After you have downloaded the archive with the plugin, you will see the file with the plugin inside.
purchased the product you will see inside the archive with the plugin pluginname.zip There are two ways to install it:
Installation of the Plugin through the WordPress Admin panel (Recommended for most users)
Step 1 :
First of all, open the WordPress admin area login page and log in into WordPress as Admin. To do this visit http://yoursitename/wp-admin
Step 2 :
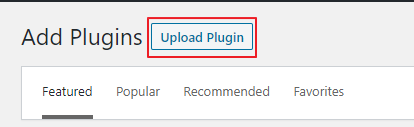
Go to Plugins > Add New Plugin to WordPress
Step 3 :
Click Upload Plugin Button
Upload New Plugin to WordPress
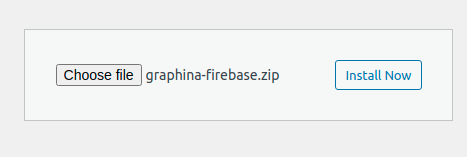
Step 4 :
Choose archive with Plugin and press Install Now Button
Upload New Plugin to WordPress
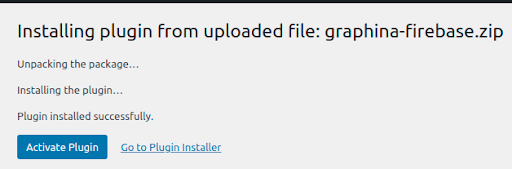
Step 5 :
After Installing, click on Activate button shown in the figure
Activate Plugin after successful installation.
Installation the plugin through FTP or build-in File manager
Step 1 :
Use Login and Password to connect to your web-server via FTP or use your hosting file manager.
You can find out your username and password on the website of your hosting provider.
Step 2 :
Upload archive with plugin to /wp-content/plugins
Step 3 :
On next step Unzip the archive with the plugin
Step 4 :
Installing WordPress Plugin is almost finished. Go to the Plugins page and click Activate
below the plugin title.
Activate Installed Plugin
After the installation is completed. You can start using the Plugin
How to Use Graphina-Firebase(Add-on)
Video 1 :
Step 1 :
Create a page and click on edit with Elementor
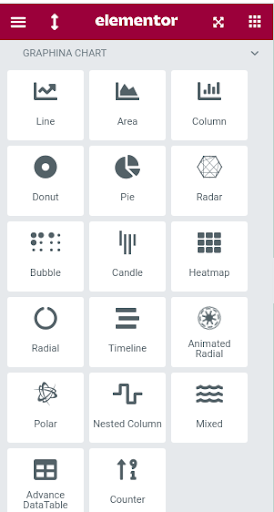
Step 2.1 :
Select or drag any chart widget from Elementor Graphina Chart panel
Step 2.2 :
Step 3.1 :
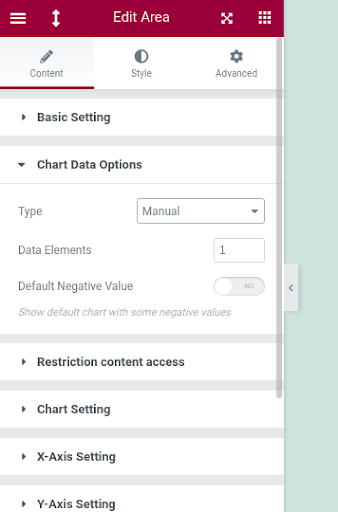
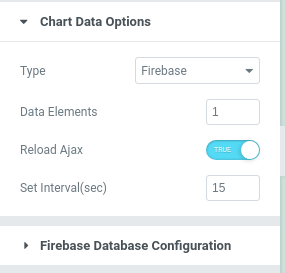
after adding the widget on your page, click on the chart and click on ‘Chart Data Options’
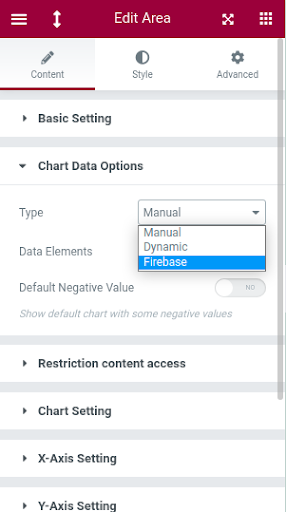
Step 3.2 :
From Chart Data options select Firebase options.
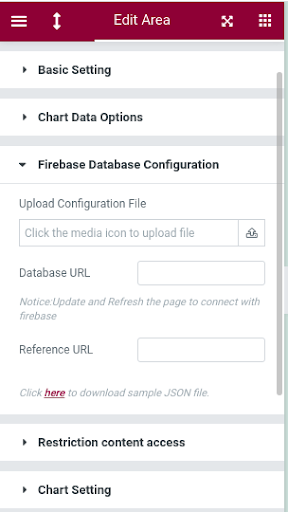
Step 4 :
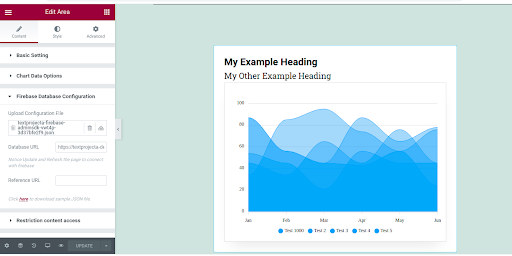
After selecting Firebase a tab named “Firebase Database Configuration” will get enabled
Download the sample json for chart from(Click here to download sample JSON file)
Upload configuration file of firebase and enter database url
A pop up appears, click on Generate Key a file will be downloaded .
Upload the generate key json file in upload configuration file(step 4)
Step 6 :
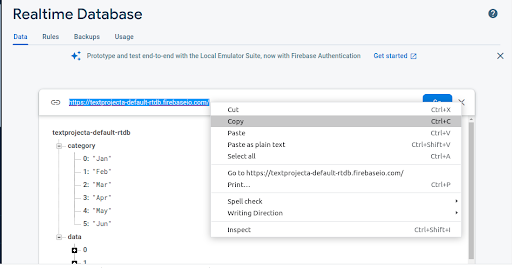
Click on realtime database(left panel)
after the database is created as we have downloaded the sample file(step 4)
we need to import that json sample file so click on the hamburger sign(3 dots right end )
Click on import json browse and upload the download json sample file
After successfully import data copy the url and paste it in Database url (step 4)
Step 7 :
Now update and refresh the page to successfully connect with Firebase.
Realtime update data from Firebase with Ajax reload Features:
Step 1 :
Click on Chart data option
Enabled ajax reload and set Interval time(sec)
Chart data will get update with ajax call
Bring Your Vision To Life By Hiring A Results-Driven Team Of Experts.